![]()
Recently, Bluehost just announced that it provides a new service that let the user add a SSL certificate (https) into their website. However, if the user are using a shared hosting, it will still need to purchase a dedicated IP domain for registration. Buying a dedicated IP costs a lot of money.
Fortunately, Bluehost also provides another service that enable user to add a SSL certificate – the website must be hosted on WordPress. Adding a SSL makes your website more secure, helps boost your searching ranking on google engine. If your are a Bluehost user who currently using WordPress. This post will assist you to transfer your site from HTTP to HTTPS step by step. Solving the problems that might be happened on the progress.
2/9/2018 updated: Bluehost now continue extending Free SSL for WP user every 3 months. However, if your site are using Sitelock CDN. Both Sitelock CDN and Free SSL Certificate will not work together. Please remember to cancel or deactivate Sitelock service before dive into this tutorial.
Usage:
- Enable your SSL on bluehost WordPress Tools.
- Wait for the server respond.
- Download simple SSL plugin for redirecting.
- Modify the code to fix the mixed content issue and secure WordPress logins.
- Check your SSL certificate status by using online tools.
Let’s start it. First you might ask: Does an SSL Certificate actually require a dedicated IP?
The answer is related to a new technology called Server Name Indication (SNI).
SNI allows SSL Certificate be associated with a virtual hosting instead of a certain servers’ IP address, which requires Apache and OpenSSL.
Bluehost cPanel had try to configure LetsEncrypt certificate authority into WordPress, which delivers every three mouth free right now. So you don’t have to buy the SSL certificate if you budget is limit.
Step 1. Login in your Bluehost account. And you will see there is a WordPress Tools tab on the top of blue menu.
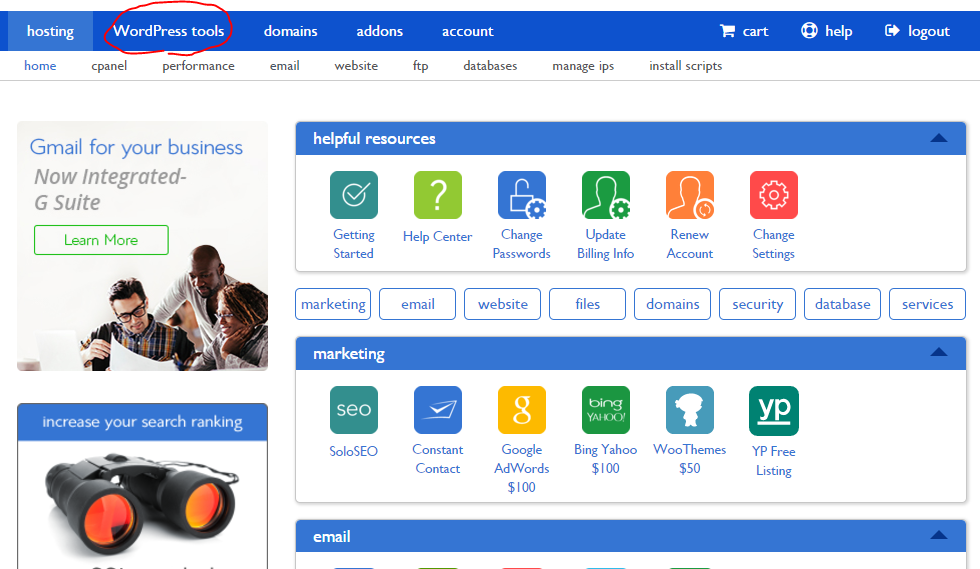
Click it to enter into the WordPress Tools settings.
Click Security menu, enable the SSL button and WAIT.
Bluehost will start working on it. Sometimes you may receive a letter for additional CA verification. Remember to check your email to active the link if your had it.
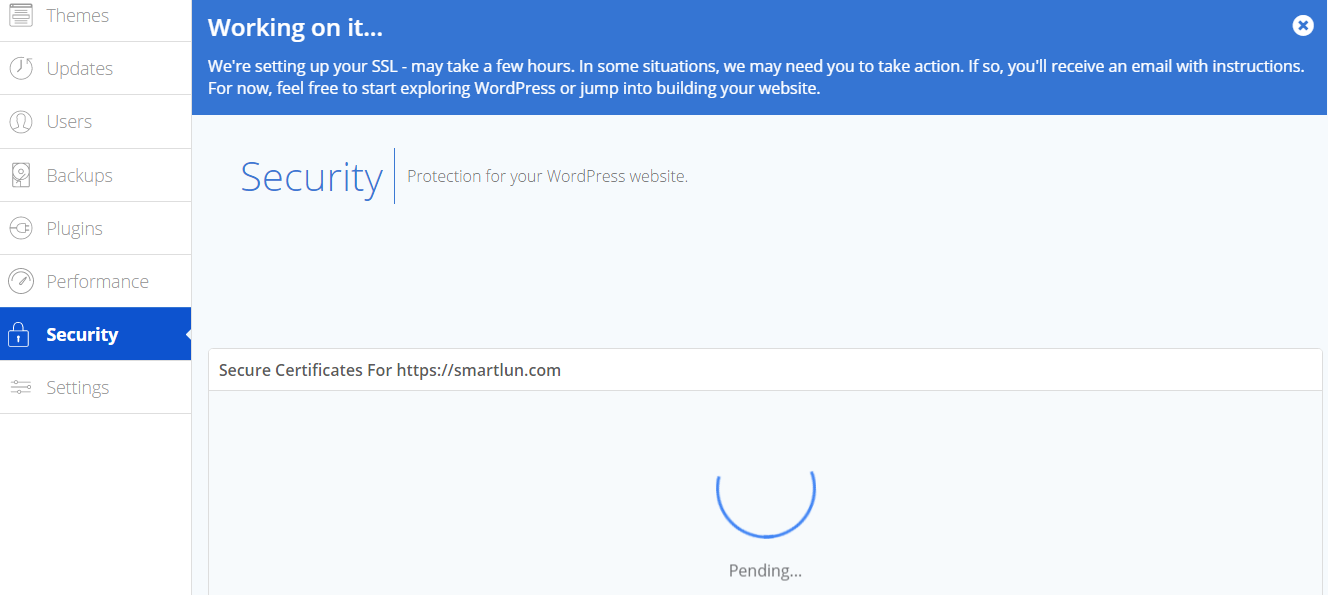
In some cases, after waiting for plenty of hours, or even few days, the “Pending” status will still be running like forever. If it happen, please contact your host provider to help.
Your can also browse the left menus to see what features they had released. Backups menu offers a single one click to restore backups of your website. Users menu provides you manage their password and login through any of your site users.
Important: Notice that if your change your theme in Themes menu, you might break up your entire website. So DON’T do it without backup. Also, enable CDN Settings in Performance menu might cause your website not able to view from certain browser. (Conflict with SSL) It’s not recommend to do this if you want to use an SSL website.
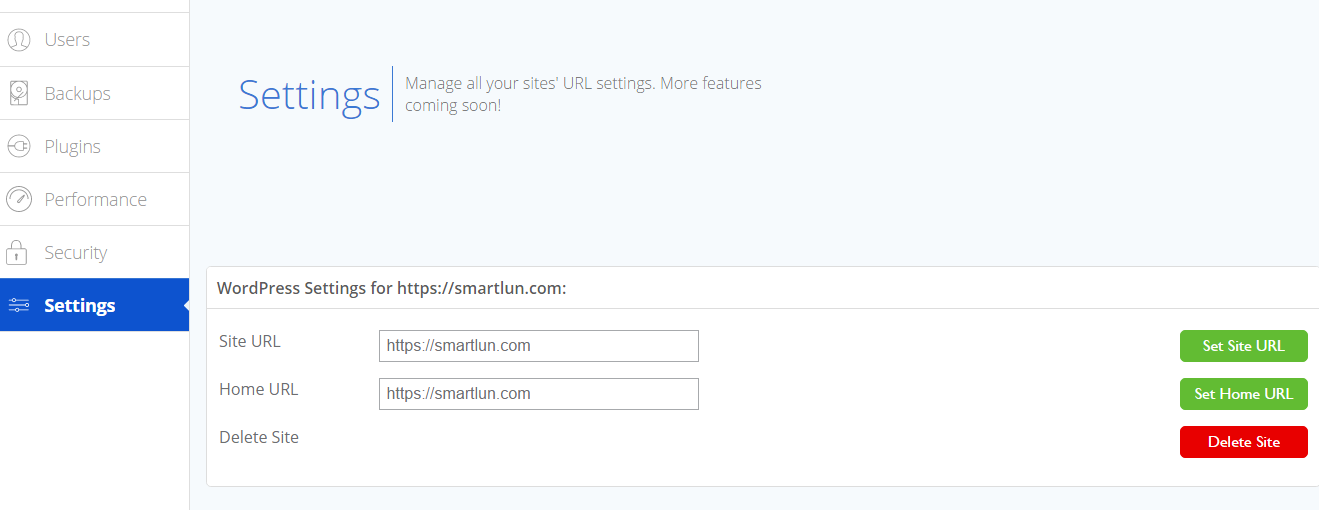
Step 2. After the server successfully add SSL certification into your website. Your can view your site and home URL links in Settings menu. (This function also be used when your website are not linkable, you don’t need to modify the wp-options table in your database for new configuration)
Your can also type (https://yourdomainname.com) to check your WordPress website.
Step 3. Now go to your WordPress admin, we current need to add a plugin to help us simplify the redirecting process. (It’s good that your don’t have to deal with heavy code such as .htaccess)
Add a new plugin called: Really Simple SSL. and activate it.
Now your website should automatically run over http to https. Type: http://yourdomainname.com to test. It should jump to a secure SSL website with https ahead.
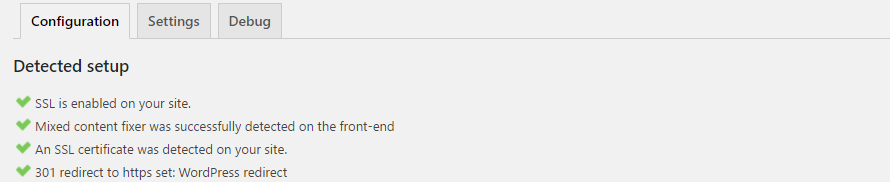
Step 4. Follow the configuration in really-simple SSL plugin to make the setup progress all green checks.
Your may need to right click and view your website source code, to see if there is any embed code such as CSS and JavaScript, currently are http, not https. (especially CDN from outsourcing).
Change them to https to fix the mixed content issue. (the embed css and js code can be found in function.php, or sometimes in header.php, which located in wp-content/themes/your-theme-name/)
In addition, to prevent the admin system may bounce back to http (which is not secure). Adding this code to your wp-config.php file before
/* That’s all, stop editing! Happy blogging. */ comment line.
define('FORCE_SSL_ADMIN', true);
Now, inspect your code (Ctrl+Shift+I in Chrome) on each page to see if there has any bug console. Paste it in Google to search if your have any question.
Step 5. Finally, the last part is to paste your URL to check your certification is fully secure or not.
There are some online tools provide free checking SSL service:
- SSL Server Test: https://www.ssllabs.com/ssltest/
- SSL Shopper – SSL checker: https://www.sslshopper.com/ssl-checker.html
- Why No Padlock: https://www.whynopadlock.com/
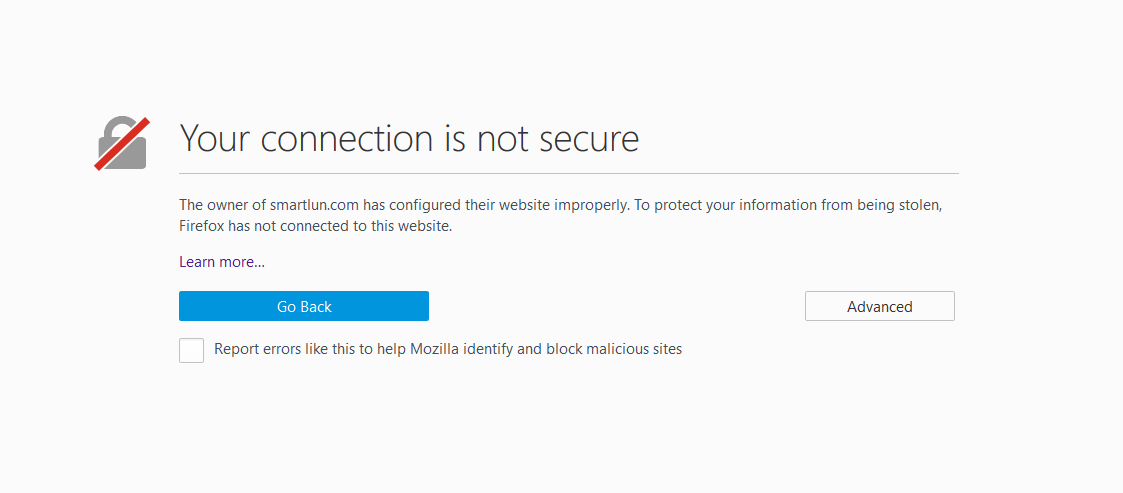
Uncompleted SSL certification may cause some browser (like FireFox..) or even mobile device (Android..) showing “Your connection is unsecured” message, which you may not willing to see.
Below are the examples:
Scenario 1: After pasting my website link on SSL Server Test, the result gives me a B grade, and showing the chain issue is incomplete….

Scenario 2: I am using Firefox to view my website, but it leave me a warning message. I do not want my user to see that.
To fix these issues, following below lists may be helpful: (Remember to clear your browser history and cached before refresh the page)
- View your verification carefully to see if they issued the “www” version of your site. If so, change your WordPress site URL and home URL in setting. From yourdomain.com to www.yourdomain.com.
- Ensure you include the certificate chain file that Bluehost sent to you in your configuration. If they didn’t, generate your domain CSR by using OpenSSL via Apache & mod_ssl, or NGINX, or OS X, or bash on windows…). And add new certificate to your website. Following Links:(Link 1, Link2, Link3)
- If you do know how to follow number 2, skip it and contact Bluehost directly to let them help you.
After finishing all the five handy steps. Congratulation your have a new secure website!
To improve your Search engine optimization (SEO). Using Google Search Console webmasters tool to apply your HTTPs property. Submit your sitemaps XML file to let google search engine to crawl your website. And you’re all set!
*The sitemaps URL can be created by some WordPress SEO plugins.

Comments are closed.