Laravel is one of the popular PHP frameworks in the world. It has the features of MVC structure, OOP format, Packages control, combined RoR & ASP.net styles, and according to Composer to manage its built-in dependencies. So developer can produce a high quality, productivity, elegant, functionality, easy-managed and (slower speed?) web application. This article will help you set Laravel environment with Windows Xampp. Successfully launch your project at the first step.
Usage:
- Xampp, Database and Windows environment variables settings.
- Laravel installation and Composer.
- Run basic views and application.
- Configure a virtual host (custom URL) for Laravel in Xampp.
- More about Laravel migrate with Xampp database(phpmyadmin).
Step 1: Xampp, Database and Windows environment variables settings:
Good tools always make your life better
At first, we need to download Xampp, which is the most popular PHP development environment for Windows (also Linux and IOS).
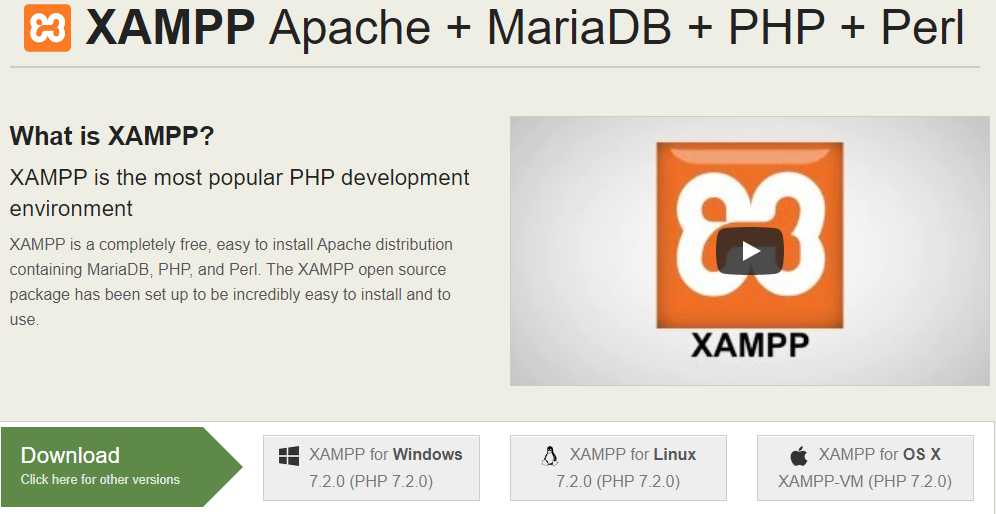
Go to xampp official website to download the latest Xampp version for Windows.
After that, select the Xampp components you want to install.
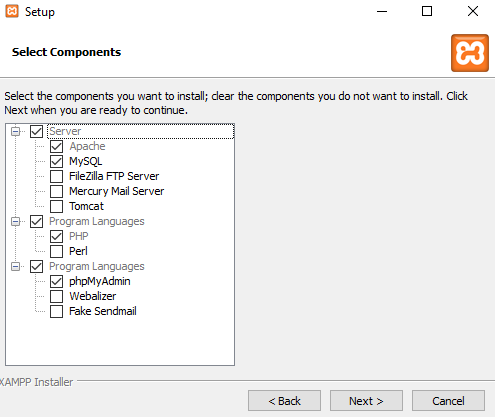
At here, we select Apache with MySQL server, PHP, and phpMyAdmin software tool for use.
Open a Windows CLI to make some commands. You can use any console emulator you like, such as Cmder, Bash on Windows, or built-in Command Prompt.
Before that, in order to make some direct commands in your CLI on windows. All we have to do is to set the path of environment variables.
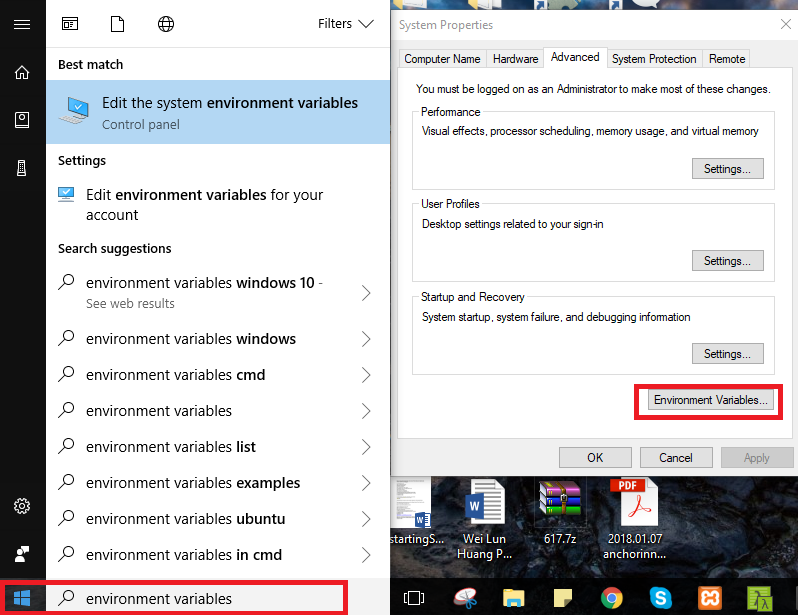
Search the environment variable by clicking your Windows button, then click Environment Variables.
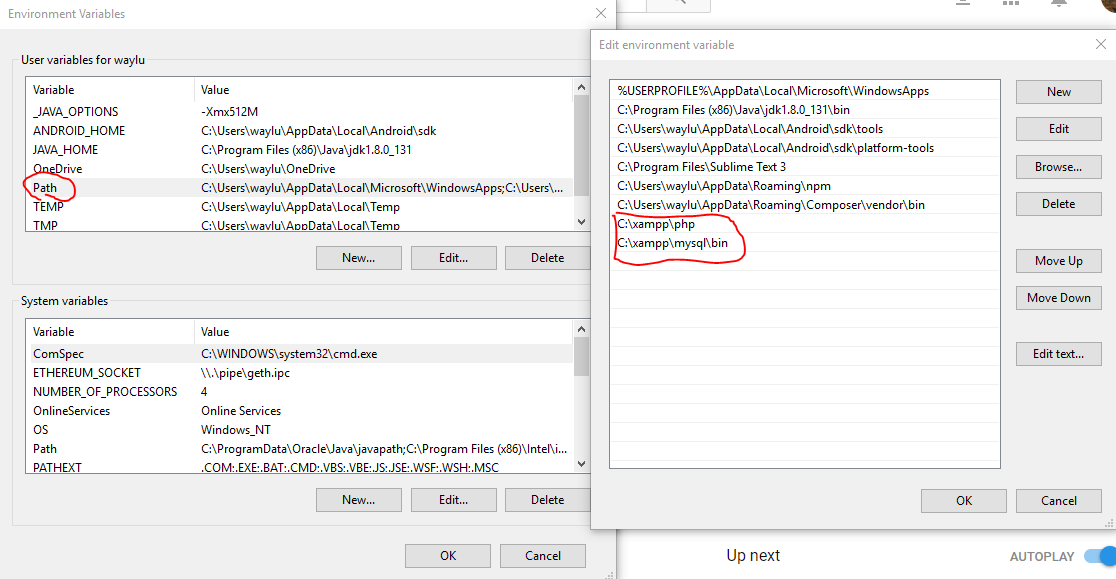
Set the path variables for php and mysql directory. One should be C:\xampp\php and another should be C:\xampp\mysql\bin
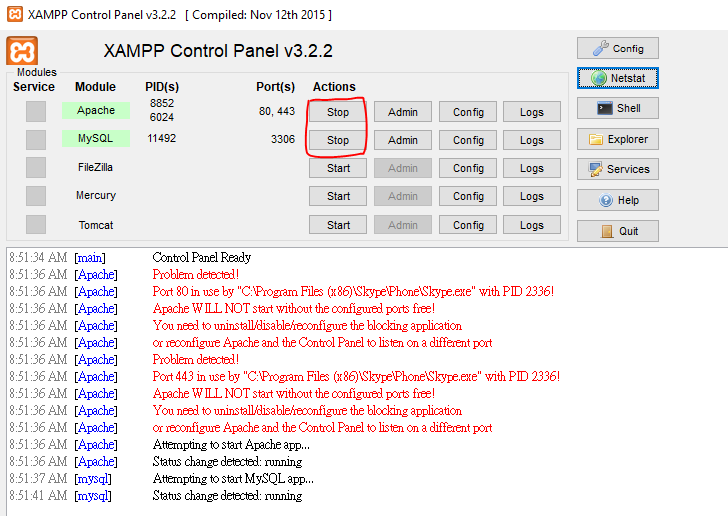
Start the Xampp Apache and MySQL services.
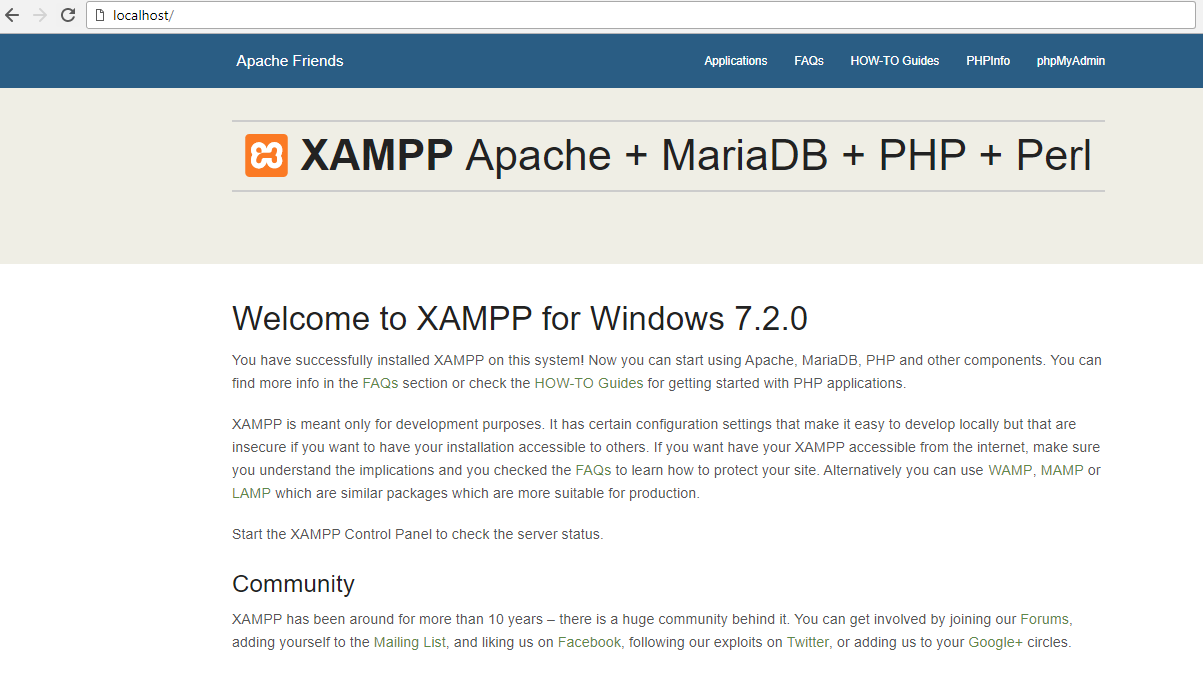
Type localhost/ or 127.0.0.1/ in your browser URL. You should see the Xampp landing page.

Type localhost/phpmyadmin/ in your browser URL. You should see the phpmyadmin user interface.

Type php -v in your CLI to see the current php version. Laravel framework requires current php version upper than 5.6
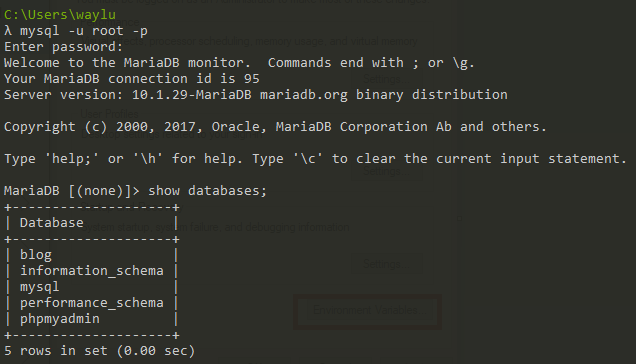
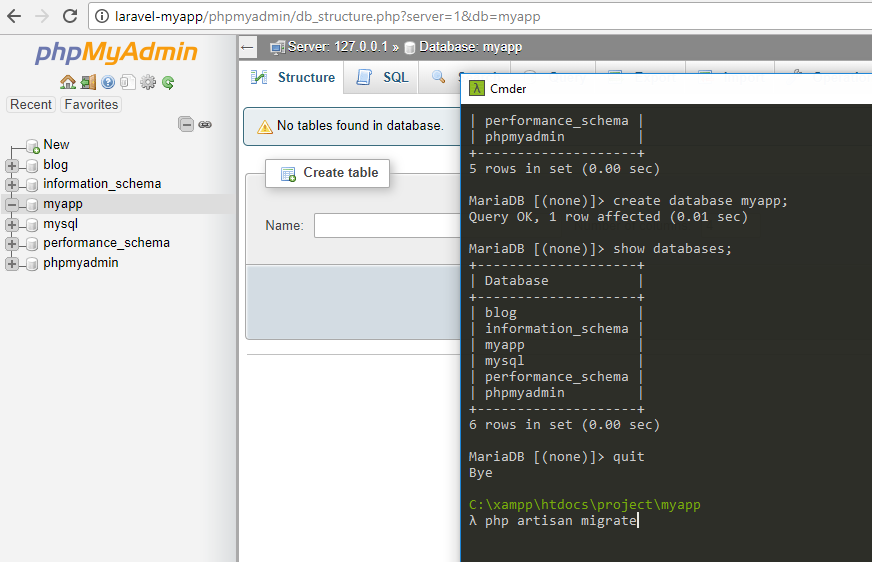
In CLI, Type mysql -u root -p, and enter password with empty. Then type show databases; You should see the database list as same as phpmyadmin interface.
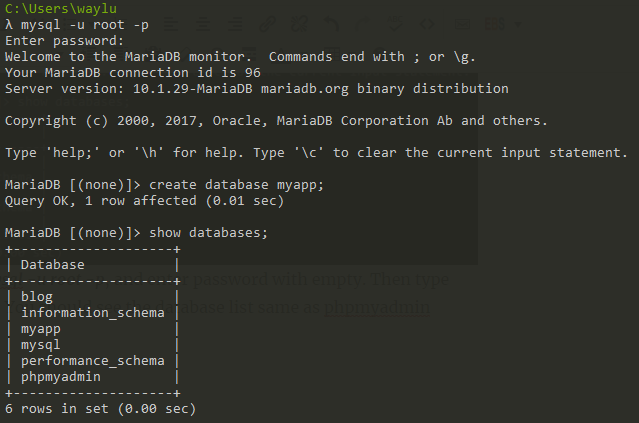
Type create database myapp; then type show databases; your will see 1 row affected. Refresh the localhost/phpmyadmin/ user interface your will see a new database called myapp was created.
At the end. Type quit and press enter to exit mysql from CLI.
More MySQL commands can be found in HERE.
Step 2: Laravel installation and Composer:
Now we can move on to the Laravel installation part. Before we do that, we have to install Composer. Composer is a dependency manager for php. It allows you to declare the libraries your project depends on and it will manage all of them for you.
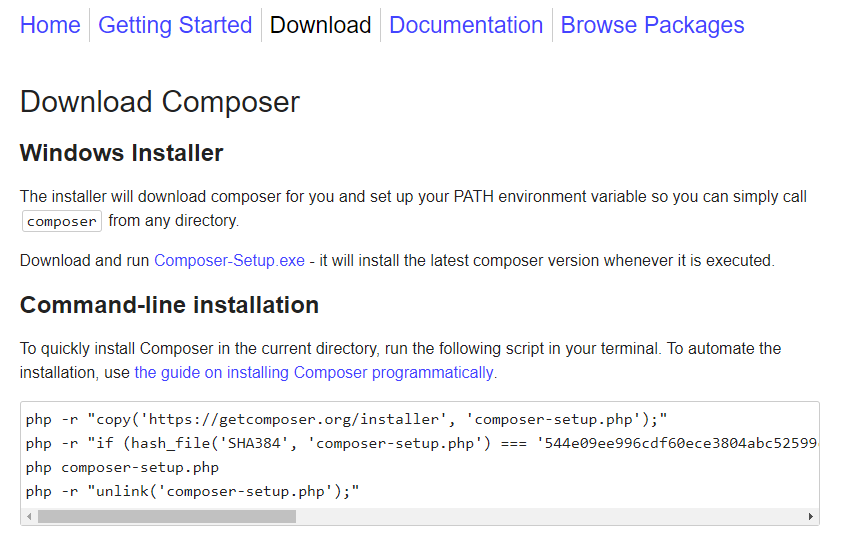
Go to https://getcomposer.org/download/ and copy and paste the first code in your terminal (CLI) and it will automatically download the Composer for you.
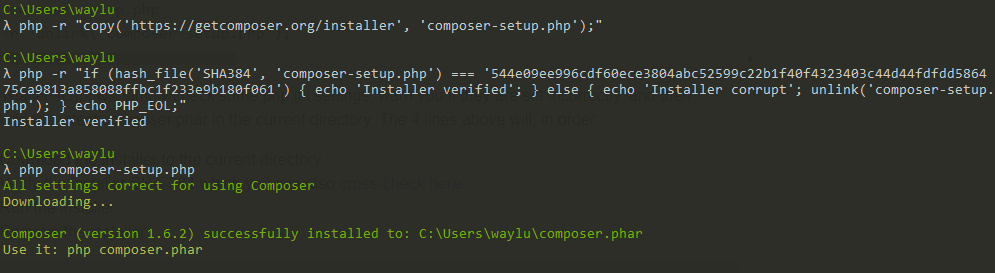
Downloading…. It shows our composer is successfully installed to C:\User\waylu\compser.phar

To let the composer accesses globally. Move the composer.phar file to correct composer directory. In Windows, the composer directory should be located in:
C:\Users\waylu\AppData\Roaming\Composer
(change waylu to your current user name)
Important: Also, Make sure set our environment path variable to run on composer bin directory, so the Laravel executable can be located.
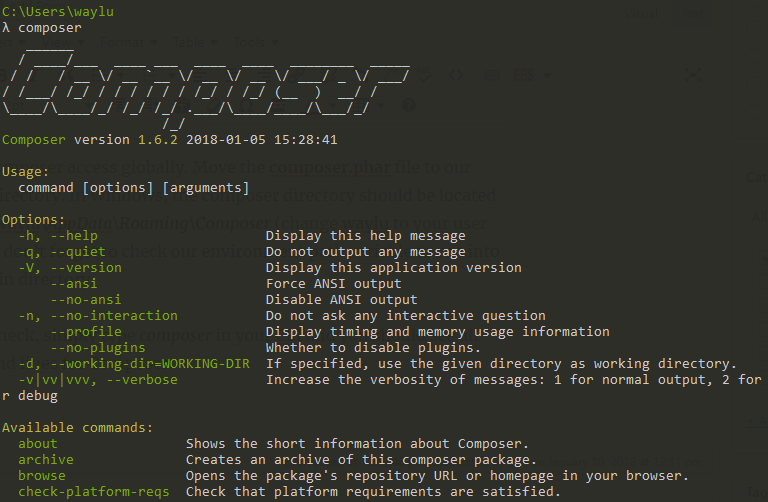
To see it sets success or not, simply type composer in your CLI and you should see all the command lines for Composer.
Type below command to download the Laravel installer using Composer.
composer global require "laravel/installer"
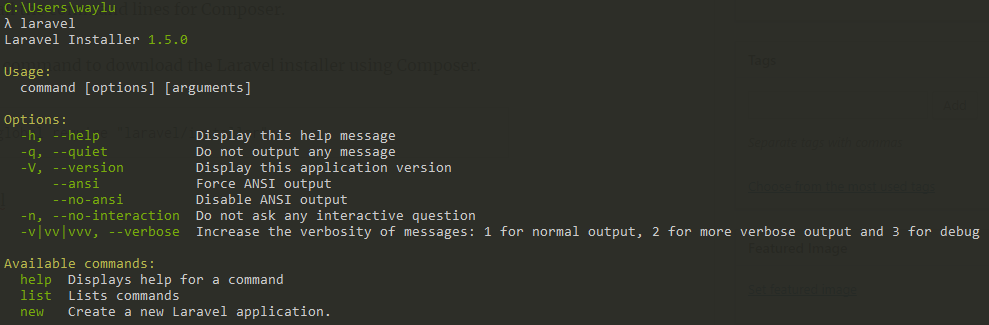
Type laravel in CLI, and you will all set to go.
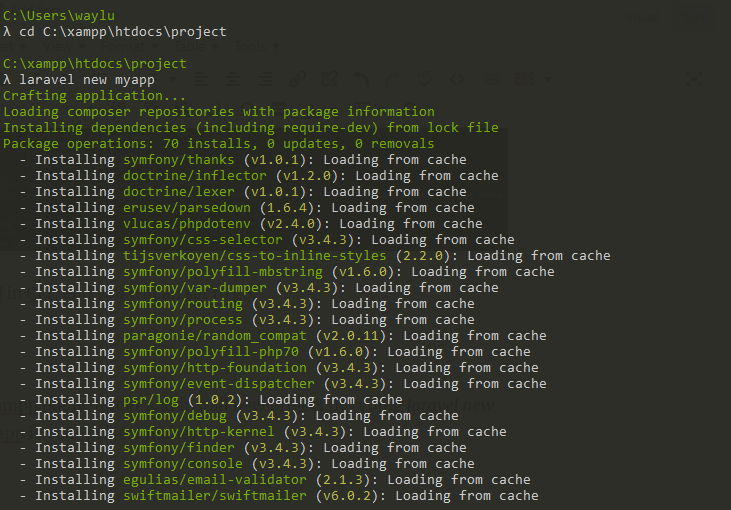
cd to you Xampp public folder and install new Laravel project by typing laravel new myapp (myapp is your project name)
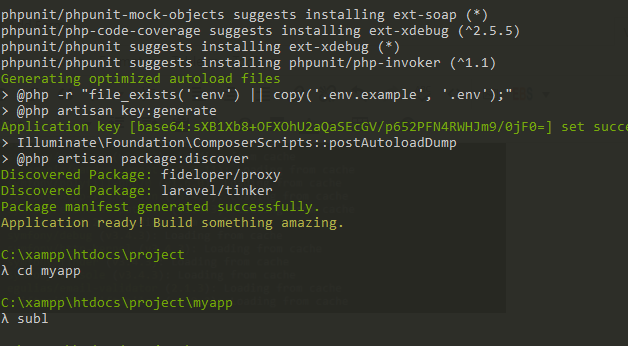
After the application is ready, cd into myapp, and type subl . to open your text-editor from Sublime Text.
To let Sublime Text works in CLI, download in sublime text in HERE, and set the environment path variable like previous mentioned before. For example, C:\Program Files\Sublime Text 3.
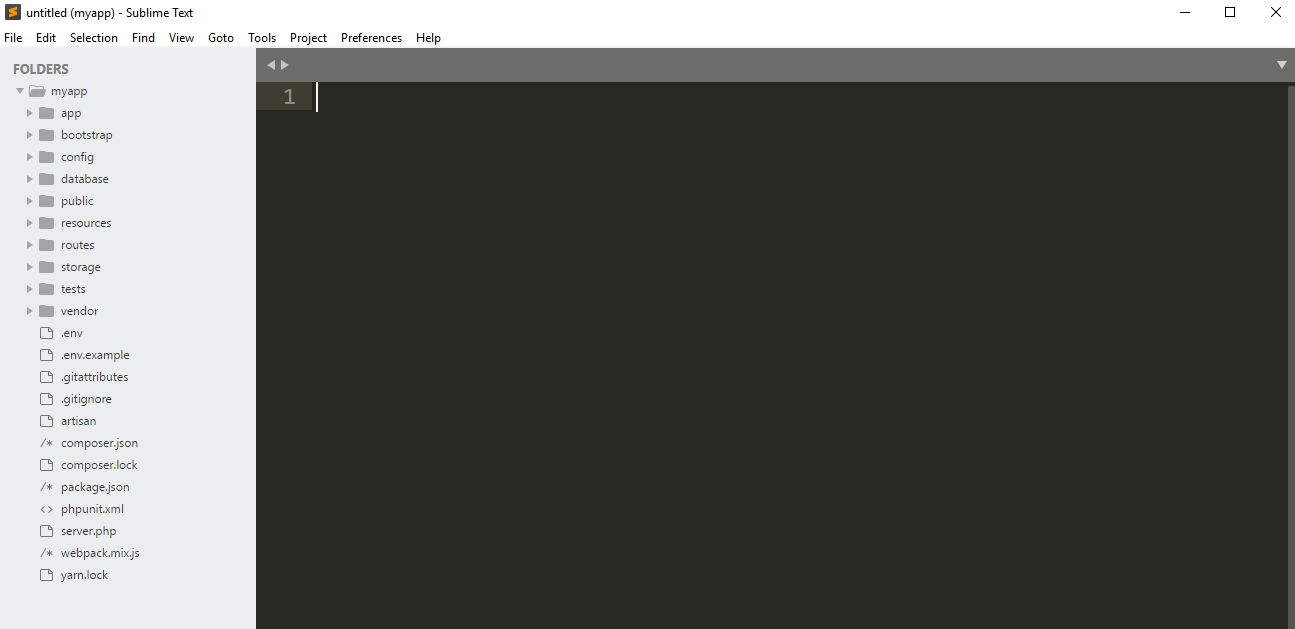
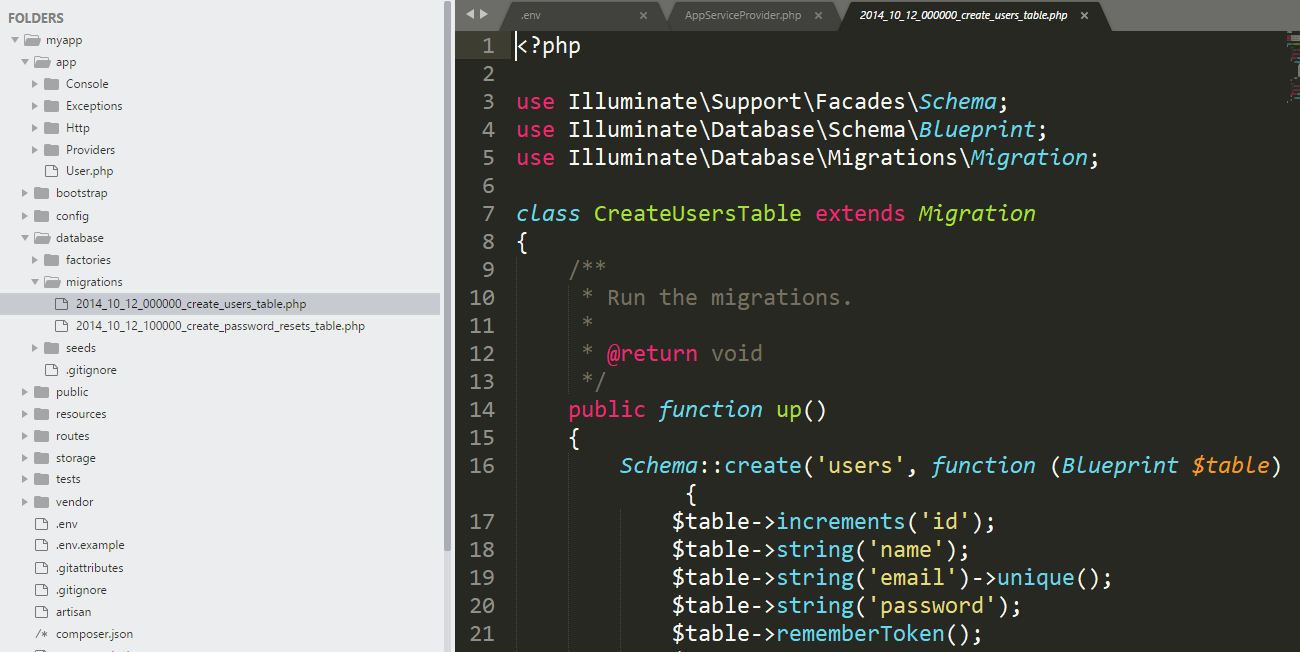
Then you will see all the folders in your myapp project.
Finally, run
php artisan -V
to see the current Laravel Framework version.
Step 3: Run basic views and application:
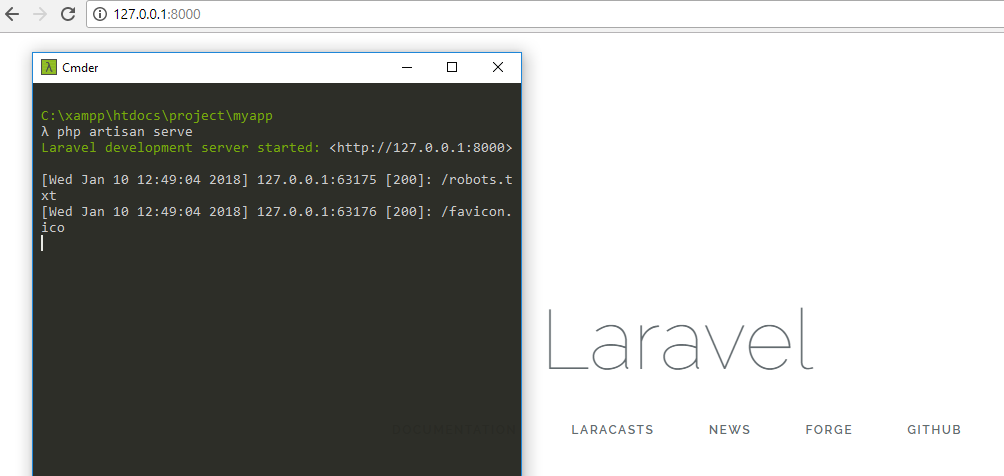
Now if you type php artisan serve in your CLI, you will see the Laravel app runs at the showing URL.
The page load actually works like this.
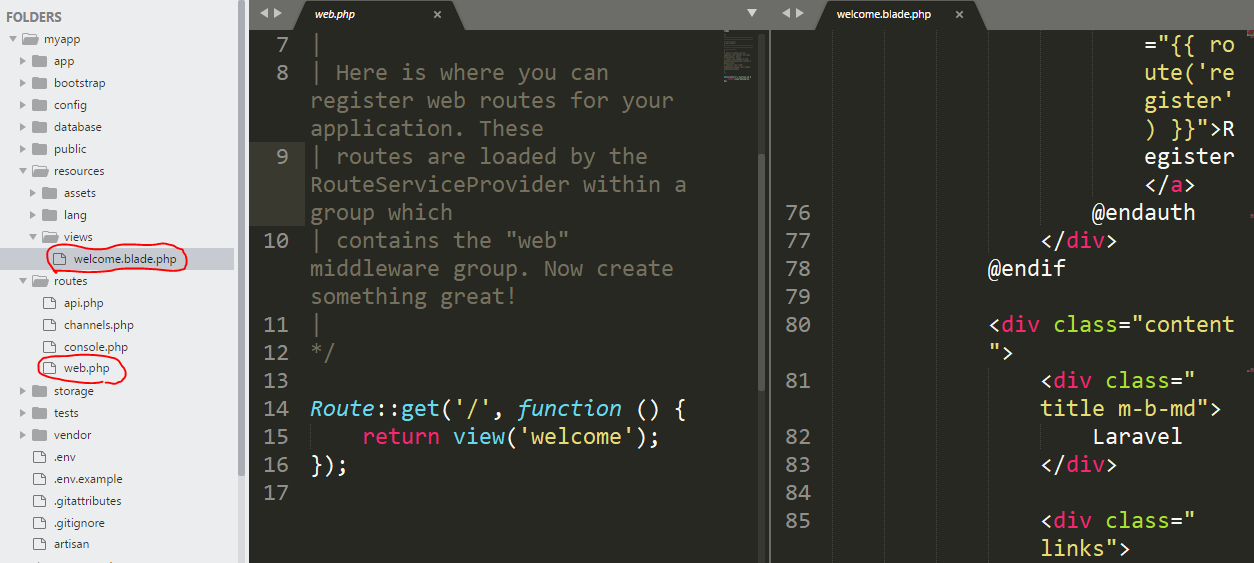
The web.php in routes folder controls the welcome.blade.php file in views folder. After you understand this, you can start building customized pages as many as you want by creating multiple blades and write new functions to call back that pages.
For example, Like below implementation (if you want to create an about page):
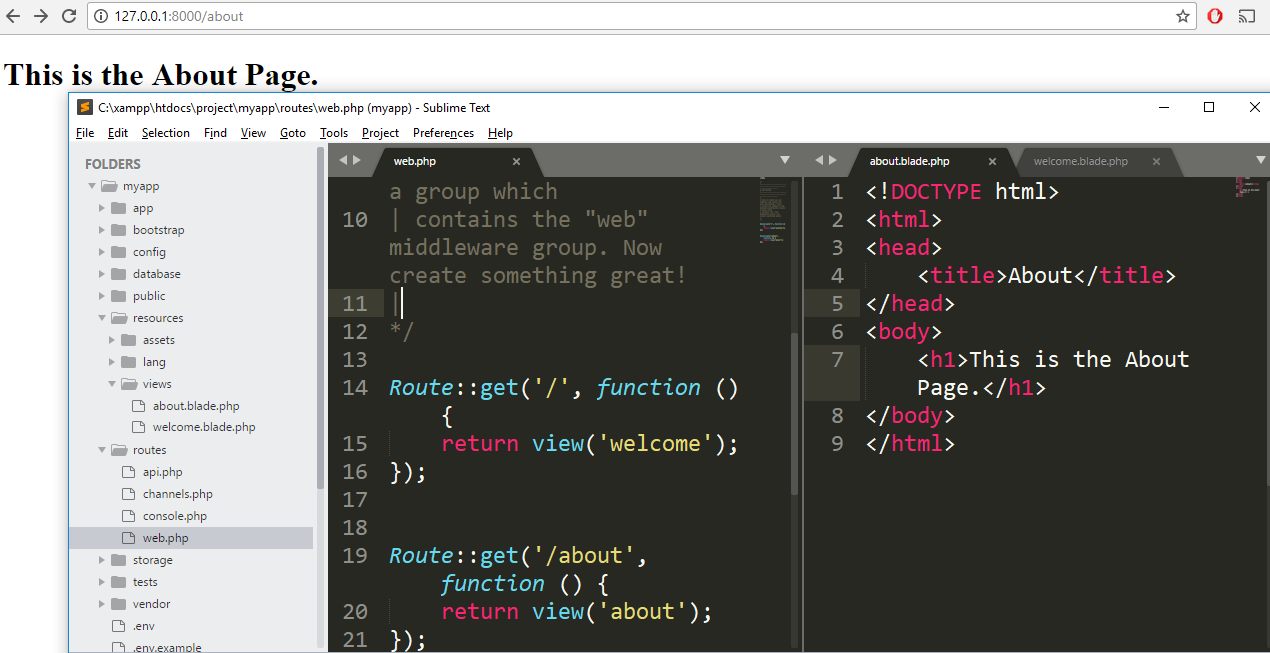
Congratulation! Now Laravel is running on your computer.
Step 4: Configure a Virtual Host (custom URL) for Laravel in Xampp:
This is my favorite part. Imagine you can use http://laravel-myapp/ kind of elegant URL in your browser instead of http://127.0.0.1:8000/ or http://localhost:8000/ to present to your client.
How awesome would be!
In Mac, Laravel has Valnet solution for you. In Windows, it would be a little bit tricky. And I would like to share with you.
For myapp project we have created for example, at first, you need to modify the hosts file of Windows located in C:\Windows\System32\drivers\etc\ that called hosts.

Find the hosts file in your Windows folder.

Right click the hosts file, select Properties > Security then click Edit, select User and check allow to Modify and Write permission then click OK to apply.
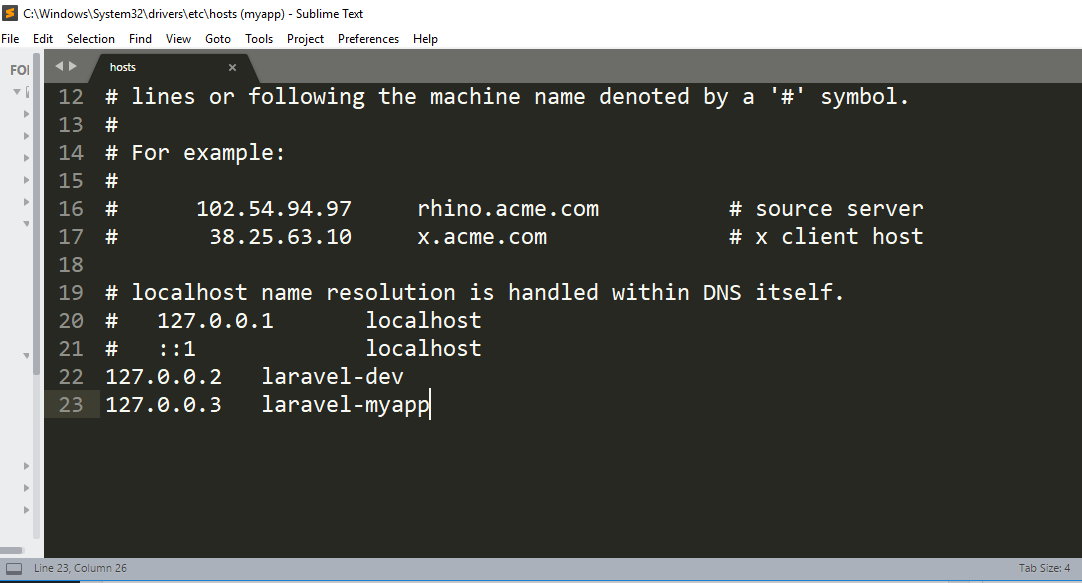
Then add the new host using a custom host on your system, in this case we will add the 127.0.0.3 host that will be accesible as well with an alias of laravel-myapp.
# localhost name resolution is handled within DNS itself.
#	127.0.0.1       localhost
#	::1             localhost
127.0.0.3   laravel-myapp
The next thing we gonna to do is to configure Virtual Host with Xampp.
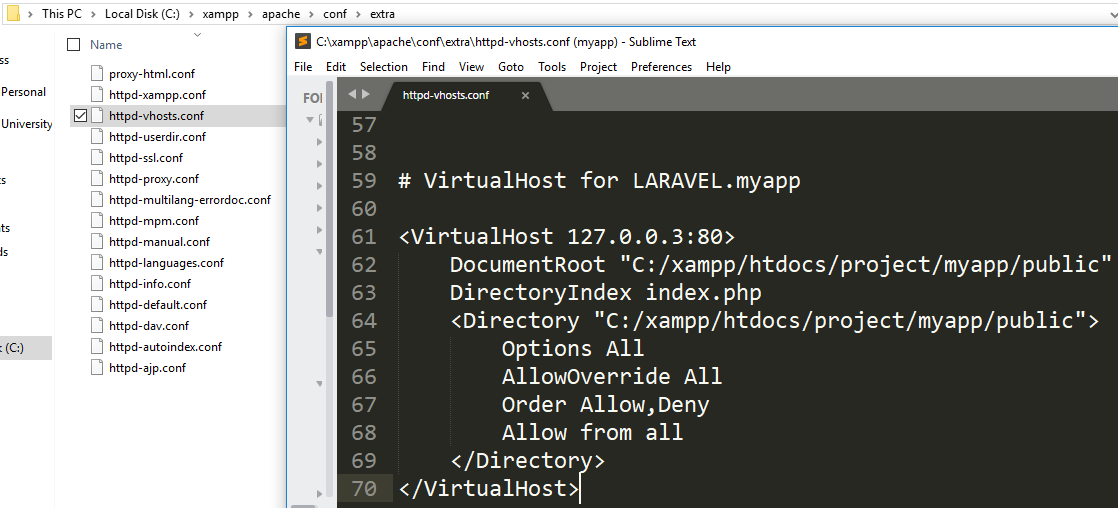
The virtual host needs to point out the same host declared in the hosts file of windows (in this case 127.0.0.3) at the port 80. You can create this virtual host appending the following code at the end of the content of the httpd.vhosts-conf file located in the xampp folder \xampp\apache\conf\extra
# VirtualHost for LARAVEL.myapp

<VirtualHost 127.0.0.3:80>
    DocumentRoot "C:/xampp/htdocs/project/myapp/public"
    DirectoryIndex index.php
    <Directory "C:/xampp/htdocs/project/myapp/public">
        Options All
        AllowOverride All
        Order Allow,Deny
        Allow from all
    </Directory>
</VirtualHost>
Beside Virtual Host Address, don’t forget to change the Root and Directory to match your myapp project!
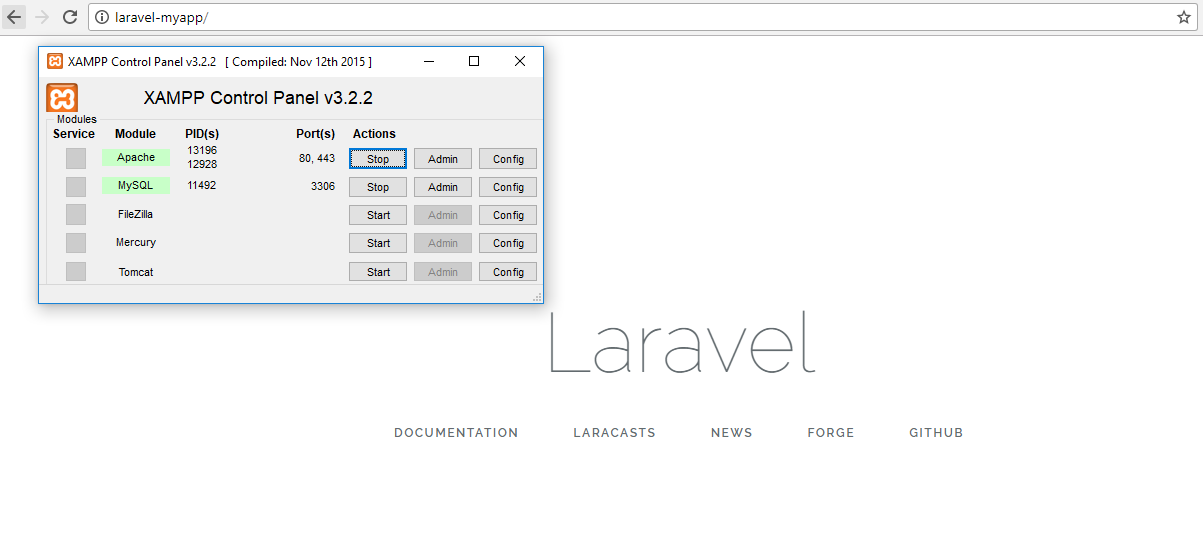
Finally, save all you modification and restart you Apache server from Xampp. Then type http://laravel-myapp/ in your browser to test. Then you should see your app be launched 🙂
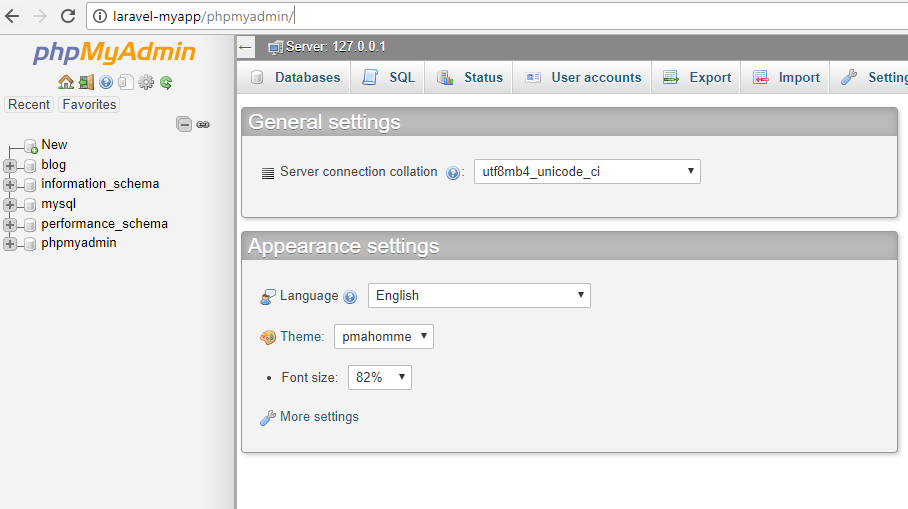
Now you can start to work on your project without worrying about the local server configuration. You can also type http://laravel-myapp/phpmyadmin/ to open the phpmyadmin user interface.
Step 5: More about Laravel migrate with Xampp database(phpmyadmin):
In step 1, we have already created a database called myapp and can be viewed in phpmyadmin user interface. Now we have to get more advanced about its configuration.
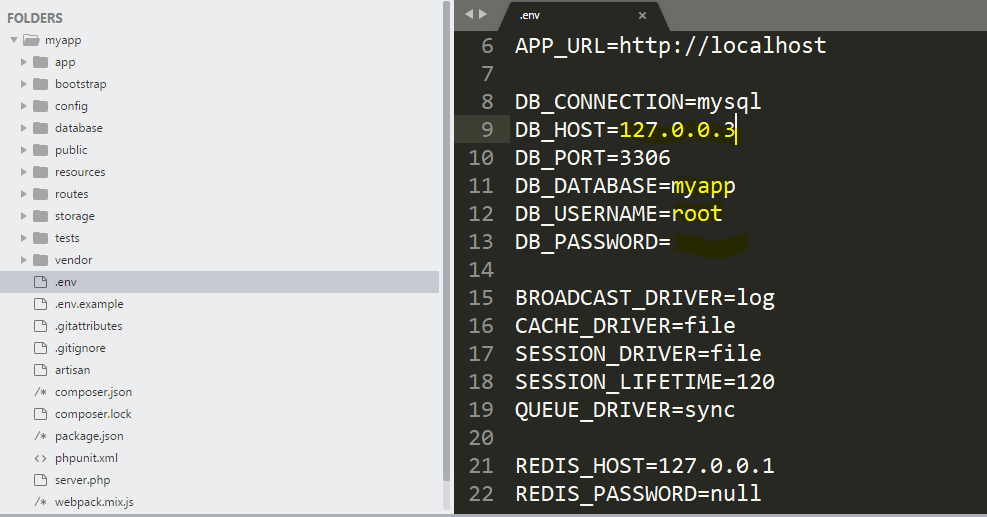
Back to our myapp project, you will see this .env file. Think of this is a secure place to store any password keys, API keys, etc. Laravel creates this for our production server. Now we will try to test one of the Laravel functionality called migrate. Before we do that, edit the .env file to make it HOST, DATABASE, USERNAME and PASSWORD exactly match our previous setting.
In myapp project, type php artisan migrate in your CLI.
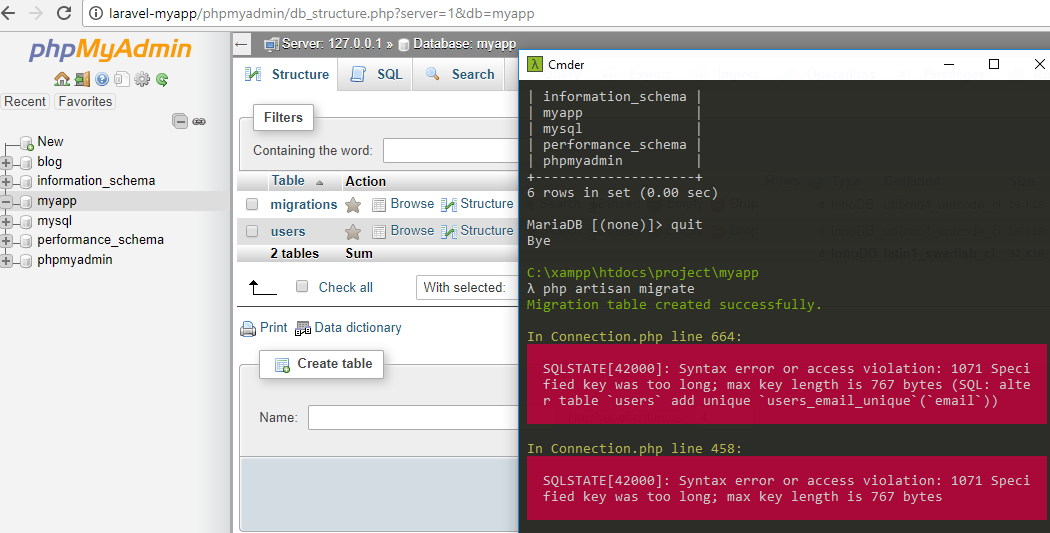
Oops! we get an error when we migrate new tables into database. We can see two tables were successfully created. But there is an error showed
which we may not want to see that.
The reason to happen this because the phpmyadmin in Xampp built-in older versions of MySQL so we may hit this error when trying to run MariaDB migrations.
Below is a way to fix that.
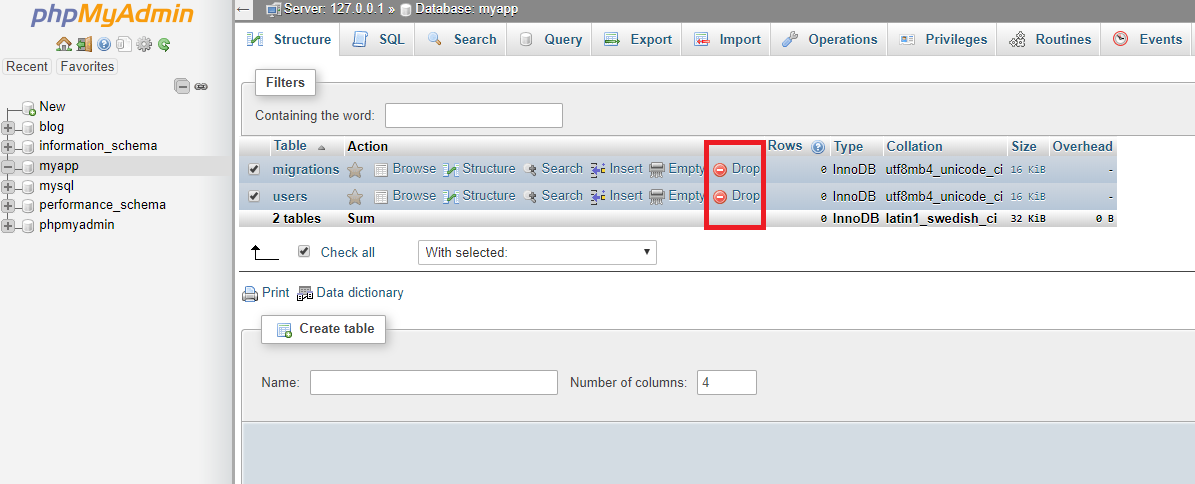
First, drop the two tables that have been created in our myapp database. We don’t want to show another error that said tables exist when we do migration.
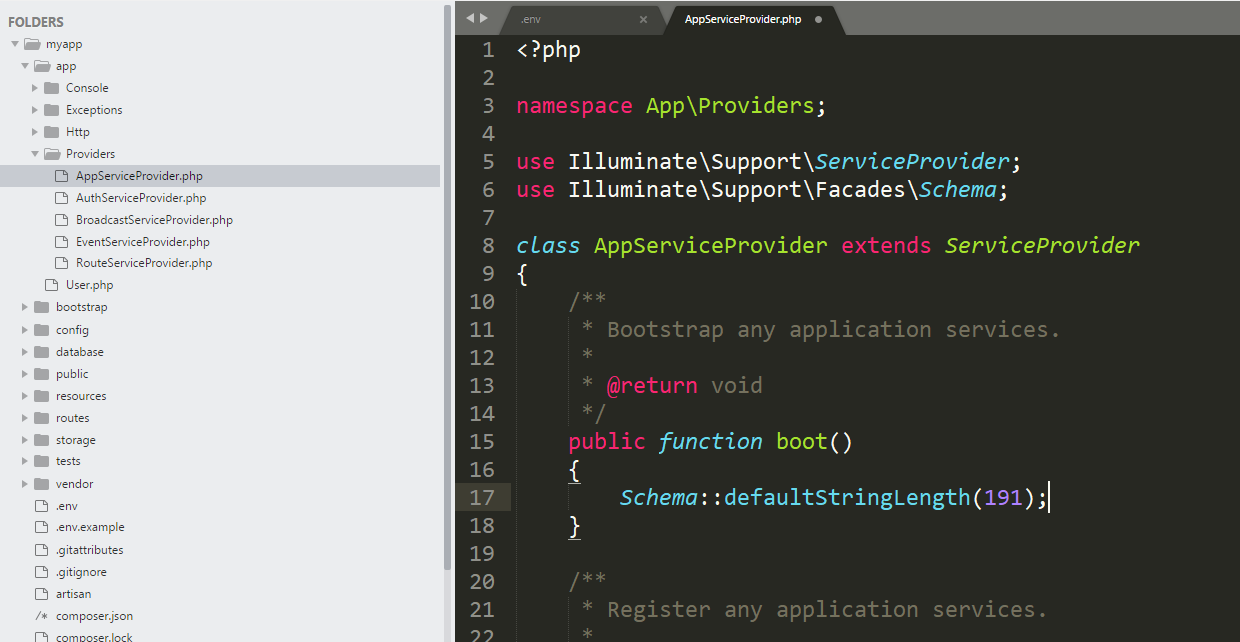
Next, go to app > Providers > AppServiceProvider.php file then add two line of codes according to the image position.
use Illuminate\Support\Facades\Schema;
Schema::defaultStringLength(191);
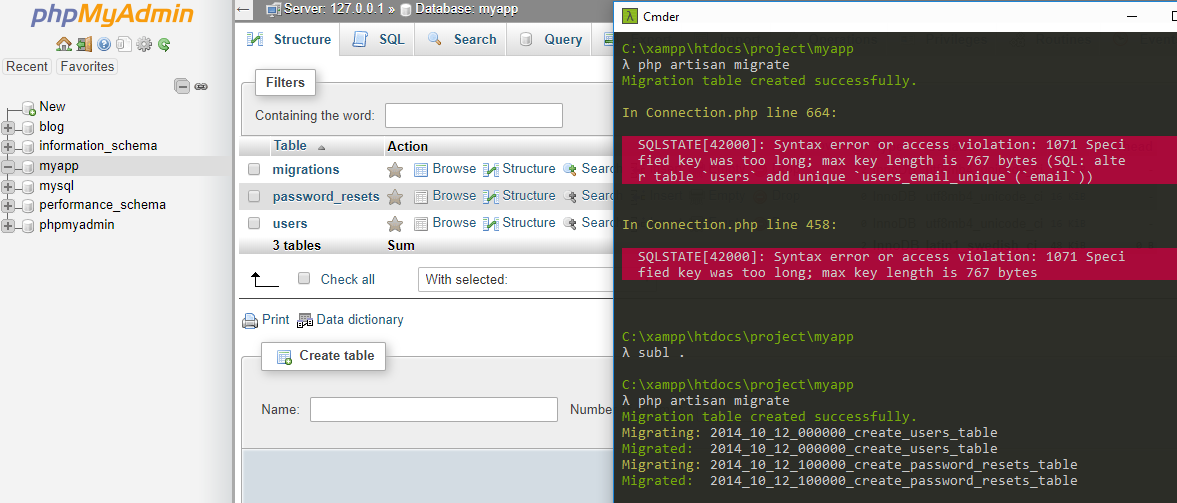
After modify and save, run php artisan migrate again, and you should see three tables have been created successfully.
The final database migration result can be found in here.
Now you can start developing your first Laravel Application!

Comments are closed.